If you’ve ever wondered how to use Preview on Mac, you’re not alone. Preview is a powerful application that comes pre-installed on every Mac, making it a versatile tool for viewing and editing PDFs, images, and more. This article will guide you through the essential features and functionalities of Preview, along with tips to enhance your experience.
What is Preview on Mac?
Preview is an Apple application designed to allow users to:
- View images and PDFs.
- Edit images, annotate PDFs, and fill out forms.
- Convert file formats such as JPEG, PNG, TIFF, and more.
With this built-in tool, there’s no need to download additional software for basic file handling. Learning how to use Preview on Mac can save you a lot of time and effort, particularly when managing documents or images.
How Do You Open Preview on Mac?
Opening Preview on your Mac is straightforward. Here’s how to do it:
-
Use Spotlight Search: Press
Command + Space, then type “Preview” and hitEnter. -
Launch from Applications Folder: Open a Finder window, navigate to the Applications folder, and double-click Preview.
-
Open Files Directly: You can also right-click on any PDF or image file, select “Open With,” and choose Preview.
Once opened, you’ll see a clean interface ready for your PDFs or images.
How to Use Preview for Viewing PDFs?
How to use Preview on Mac for viewing PDFs is simple and intuitive. Here are the steps:
-
Open a PDF File: Use any of the methods mentioned above to open your PDF file in Preview.
-
Navigate Pages: Use the left sidebar to scroll through your document pages easily. You can also use the arrow keys on your keyboard.
-
Zoom In and Out: To adjust the zoom level, use
Command + Plus (+)to zoom in andCommand + Minus (-)to zoom out. -
Enter Full-Screen Mode: For better visibility, choose
View > Enter Full Screenor pressControl + Command + F.
How to Use Preview for Annotating PDFs?
Once you’ve mastered how to use Preview on Mac for viewing PDFs, you may want to annotate them. Here’s how:
-
Open the Markup Toolbar: Click on the pencil icon or go to
View > Show Markup Toolbar. -
Highlight Text: Use the highlight tool (the marker icon) to emphasize important parts of the text.
-
Add Notes: Click on the note icon to place sticky notes anywhere on the document.
-
Shapes and Lines: Use the shapes tool to draw lines or shapes. This is helpful for creating visual cues.
-
Sign Documents: You can create a signature using your trackpad or by importing an image. Go to
Tools > Annotate > Signatureand follow the prompts.
These features make Preview a great choice for anyone needing to annotate documents without installing additional software.
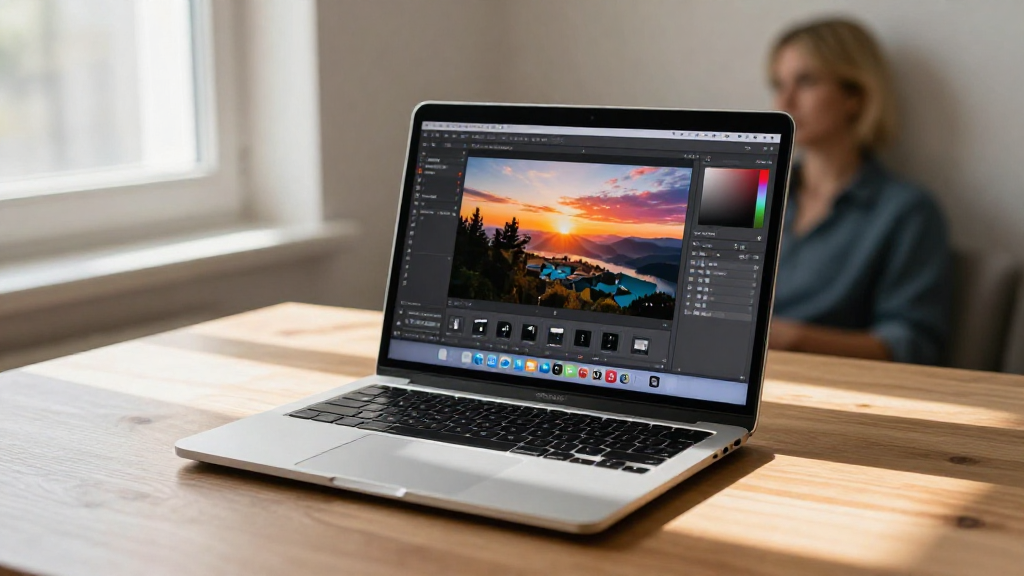
How to Use Preview for Editing Images?
How to use Preview on Mac for editing images is equally simple. Here’s a step-by-step guide:
-
Open an Image: Use Preview to open any image file.
-
Crop Images:
– Select the area you want to keep with your cursor.
– Click onToolsin the menu bar and selectCrop. -
Resize Images:
– Navigate toTools > Adjust Size.
– Enter your desired dimensions or adjust the percentage. -
Adjust Colors:
– ClickTools > Adjust Color.
– Use the sliders to modify exposure, contrast, saturation, and more. -
Rotate and Flip:
– You can rotate your image by selectingTools > Rotate LeftorTools > Rotate Right.
– For flipping, selectTools > Flip HorizontalorFlip Vertical. -
Save Your Changes:
– Once you’re finished editing, go toFile > Saveto overwrite the original file orFile > Exportto save a new version.
How to Use Preview for Converting File Formats?
Another handy feature of how to use Preview on Mac is its ability to convert between different file formats. Here’s how:
-
Open the File: Launch Preview and open the image or PDF file you wish to convert.
-
Export the File:
– Go toFile > Export.
– In the Format dropdown menu, choose your desired file format (e.g., JPEG, PNG, PDF). -
Select Quality: For images, you can adjust quality and resolution based on your needs.
-
Save the File: Name the file and choose a save location. Click
Saveonce you’re ready.
With these simple steps, transforming your files into the desired format is a breeze.
How to Use Preview for Taking Screenshots?
How to use Preview on Mac for taking screenshots is another useful feature. Here’s how:
-
Open Preview: First, launch the Preview app.
-
Select File: Click on
Filein the menu. -
Select Take Screenshot:
– Choose eitherFrom Selection,From Window, orFrom Entire Screen. -
Capture the Screenshot:
– For selection, click and drag to select the area you want to capture.
– For a window, click on the window of your choice.
– For the entire screen, simply click anywhere on the screen. -
Save the Screenshot: Once you take the screenshot, it will automatically open in Preview. You can then save it through
File > Saveor edit as needed.
Frequently Asked Questions
Can You Edit PDFs in Preview?
Yes, Preview allows users to annotate and edit PDFs by highlighting text, adding notes, and signing documents.
Is Preview Only for Macs?
Yes, Preview is an exclusive application for macOS and is not available on other operating systems.
Can I Share Files Directly from Preview?
Absolutely! Once you’ve edited a document, you can share it directly from Preview via email or other apps using the Share menu.
Is There a Help Section in Preview?
Yes, you can find help within Preview by clicking on Help in the menu bar. It provides resources and tutorials tailored to the application’s features.
Conclusion
Knowing how to use Preview on Mac unlocks a world of possibilities when it comes to managing your images and PDFs.
With features like annotation, file conversion, and even basic editing, Preview serves as a powerful ally for any Mac user.
So go ahead, dive into Preview and streamline your document and image handling tasks today!