If you’re wondering how to enable the firewall on Mac, you’ve come to the right place.
In this article, we will guide you through the steps to enable and configure the firewall on your Mac computer to ensure that your device and personal data are secure from unauthorized access. Let’s dive in!
What is a Firewall?
A firewall acts as a protective barrier between your computer and potential threats from the internet.
It regulates incoming and outgoing network traffic based on predetermined security rules.
By enabling the firewall on your Mac, you can block hackers and malicious software from accessing your system.
This is crucial for maintaining the integrity of your device and personal information.
Why Should You Enable the Firewall on Your Mac?
Enabling the firewall on your Mac comes with several benefits:
- Protection from Unauthorized Access: It helps block unauthorized users from accessing your system.
- Monitoring Network Traffic: It keeps an eye on all incoming and outgoing data traffic, giving you insight into what’s trying to connect.
- Malware Defense: A firewall can help in preventing malware from entering your system.
- Configurable Settings: You can specify what applications are allowed to connect to the internet.
Given these benefits, it’s clear that knowing how to enable the firewall on Mac is essential for any user.
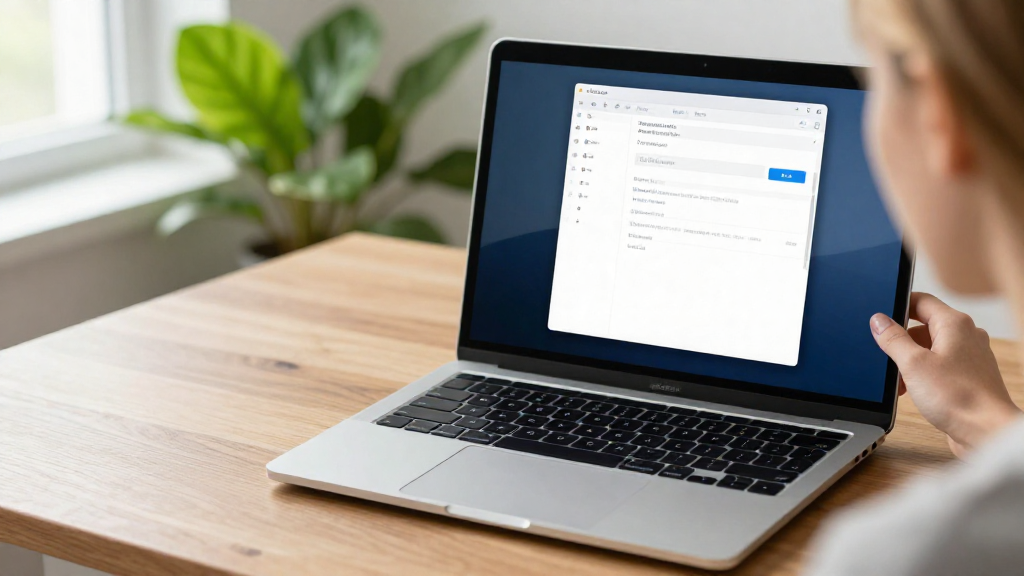
How to Enable the Firewall on Mac: Step-by-Step Guide
Now, let’s explore how to enable the firewall on Mac with a simple, step-by-step guide.
Follow these instructions carefully:
Step 1: Open System Preferences
- Click on the Apple icon in the top left corner of your screen.
- From the dropdown menu, select System Preferences.
Step 2: Access Security & Privacy Settings
- In the System Preferences window, find and select Security & Privacy.
- This section controls your Mac’s security settings and firewall options.
Step 3: Enable the Firewall
- Click on the Firewall tab located in the Security & Privacy window.
- You may need to click the lock icon in the bottom left corner to make changes.
- Enter your administrator username and password when prompted.
Step 4: Turn On the Firewall
- Once unlocked, you will see an option to Turn On Firewall.
- Click on this button to enable the firewall.
- Optional: You can also click on Firewall Options to customize the firewall settings according to your needs.
Step 5: Review Your Settings
- After enabling the firewall, it’s essential to review your settings.
- Ensure that the applications you want to allow through the firewall are listed as Allowed.
- You can add new applications by clicking the Add Application button.
Now that you’ve successfully enabled the firewall, let’s continue with some additional considerations.
What Firewall Settings Can You Customize?
Once you’ve learned how to enable the firewall on Mac, you’ll want to know about the settings you can customize. Here are the main options:
- Block All Incoming Connections: This feature stops all connections except those that are essential.
- Enable Stealth Mode: When this option is turned on, your Mac won’t respond to probing requests from the network, making it less visible to attackers.
- Allow Signed Software to Receive Incoming Connections: This option allows only applications that have been signed by a certified developer to receive network connections.
Customizing these settings enhances your security further while ensuring that necessary applications remain functional.
What Should You Do if You’re Having Issues?
Sometimes, enabling the firewall might cause issues with certain applications. Here’s what you can do:
- Check Application Settings: Make sure your applications are allowed access through the firewall.
- Disable Stealth Mode: If you’re experiencing connection issues, you may want to temporarily disable Stealth Mode.
- Update Your Apps: Ensure all your applications are up to date, as older versions may not comply with firewall settings.
By troubleshooting according to these points, you should be able to resolve most issues that arise after learning how to enable the firewall on Mac.
How to Verify if the Firewall is Working?
After enabling the firewall, it’s essential to confirm that it’s functioning correctly.
Here’s how you can check:
-
Use Terminal: You can open the Terminal application and type the command
sudo /usr/libexec/ApplicationFirewall/socketfilterfw --getglobalstateto check the firewall’s status. If it says “Firewall is enabled,” you’re good to go. -
Check Connection Attempts: Monitor your network traffic using the Activity Monitor to see if there are blocked connection attempts.
By performing these checks, you can ensure that your firewall is not just enabled but also working effectively.
Conclusion
In conclusion, knowing how to enable the firewall on Mac is a critical skill for any Mac user concerned about security.
By following the simple steps outlined in this article, you can protect your system from unauthorized access and potential threats.
Remember to regularly review your firewall settings and stay informed about any new updates or options available that can help bolster your security further.
With a properly enabled and configured firewall, you can browse the internet with greater peace of mind, knowing that your Mac is well-protected.
Take charge of your digital safety today!