Learning how to move the Dock on Mac can greatly enhance your productivity and personal preference when using your computer. In this guide, we’ll delve into the various ways to reposition the Dock, ensuring it suits your workflow and aesthetic needs.
What is the Dock on Mac?
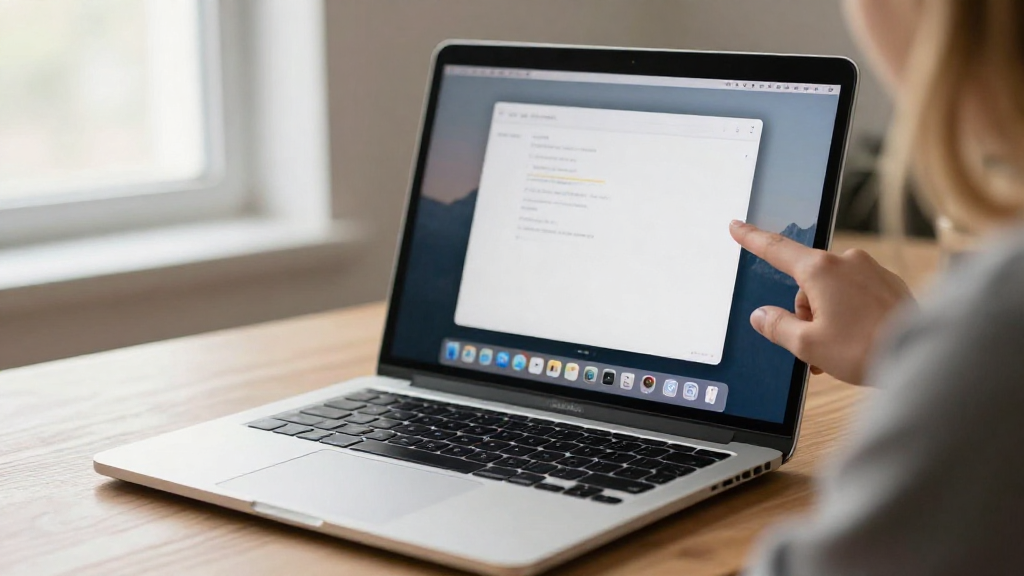
The Dock is a prominent feature of macOS, serving as a customizable toolbar for your applications and files. It offers quick access to frequently used applications, documents, and folders, making it an essential aspect of the user interface.
Knowing how to move the Dock on Mac can greatly improve your overall experience by allowing you to place it in a location that feels more intuitive for you.
Why Would You Want to Move the Dock?
You might consider moving the Dock on your Mac for several reasons:
- Personal preference: You may prefer the Dock to be on the left, bottom, or right side of your screen.
- Screen space: Depending on your workflow, you might need more vertical or horizontal space for applications.
- Visual aesthetics: You might find it more visually appealing to have the Dock in a different position.
How to Move the Dock on Mac: Step-by-Step Guide
Here’s how to move the Dock on your Mac in just a few simple steps.
1. Access System Settings
To begin, you’ll need to navigate to System Settings:
- Click on the Apple logo in the upper-left corner of your screen.
- Select System Settings or System Preferences from the dropdown menu.
2. Open Dock & Menu Bar Settings
Once you’re in System Preferences or System Settings:
- Locate and click on the Dock & Menu Bar icon.
This area contains all settings related to the Dock, including its position.
3. Choose Your Dock Position
In the Dock & Menu Bar settings:
- Look for the option labeled Position on screen.
- Here, you’ll find three options:
- Left: Places the Dock vertically on the left side.
- Bottom: The default position for the Dock, horizontal at the bottom.
- Right: Places the Dock vertically on the right side.
Select your preferred position. As you choose an option, you’ll see the Dock move to the desired location immediately.
4. Customize Further (Optional)
While learning how to move the Dock on Mac, you might want to customize it further.
Feel free to explore other options within the Dock & Menu Bar settings, such as:
- Size: Adjust the Dock size by sliding the Size slider.
- Magnification: Enable Magnification to have icons grow larger when you hover over them.
- Minimize windows into application icon: This setting minimizes all windows into their corresponding application icon in the Dock.
5. Close System Settings
Once you have adjusted your settings:
- Simply close the System Settings or System Preferences window.
- The Dock will remain in its new location until you decide to move it again.
Can You Move the Dock using a Shortcut?
While the primary way to move the Dock is through System Settings, there isn’t an official keyboard shortcut specific to repositioning the Dock.
However, staying aware of the settings can help you quickly access the customization options when needed.
What If I Don’t Like the Changes?
Trying a new Dock position can be a part of finding your optimal workspace.
If you find that the new position doesn’t suit you:
- Simply re-access the Dock & Menu Bar settings following the same steps we covered earlier.
- You can revert the Dock back to its original position or try a different one.
Changing the Dock’s location is completely flexible, allowing you to experiment until you find the ideal setup.
Are There Any Third-Party Apps to Manage the Dock?
While most users can efficiently manage their Dock through macOS built-in settings, there are third-party apps available that offer enhanced Dock management features.
These apps may include options for more extensive customization such as:
- Animated effects
- Different styles
- Adding additional functionality
However, for simple repositioning and basic customization, there’s no need to rely on third-party applications.
Troubleshooting Common Dock Issues
If you find that the Dock is not behaving as expected after moving it, consider the following tips:
-
Restart Finder:
– Open Activity Monitor and find Finder.
– Right-click and select Restart. -
Log out and log back in:
– Sometimes a restart helps to refresh your Mac’s display settings. -
Safe Mode:
– Restart your Mac in Safe Mode to see if the issue persists.
– This can help eliminate issues caused by third-party software.
Conclusion: Mastering the Dock
In summary, understanding how to move the Dock on Mac allows you to personalize your workspace significantly.
By following the steps outlined above, you can quickly adjust the Dock’s position to better suit your needs and improve your user experience.
Feel free to experiment with different settings and arrangements until you find what feels right for you!
Personalizing your Dock contributes to a more efficient and enjoyable Mac experience. Whether it’s moving the Dock to the left, right, or bottom, it’s all about what makes your workflow smoother and more intuitive.
Now that you know how to move the Dock on Mac, take a moment to explore and enjoy your newly customized workspace!