If you’ve recently purchased a printer and want to know how to connect a printer to Mac, you’ve come to the right place. This guide will walk you through the steps necessary to set up your printer effortlessly on your Mac computer.
What Are the Basic Requirements to Connect a Printer to Mac?
Before diving into the steps on how to connect a printer to Mac, ensure that you meet the following requirements:
- Printer Compatibility: Ensure your printer is compatible with macOS.
- Connection Type: Determine whether you will connect your printer via USB, Wi-Fi, or Bluetooth.
- Driver Installation: Make sure you have the appropriate drivers installed. Most modern printers are automatically recognized by macOS, but it’s wise to check the manufacturer’s website for updates.
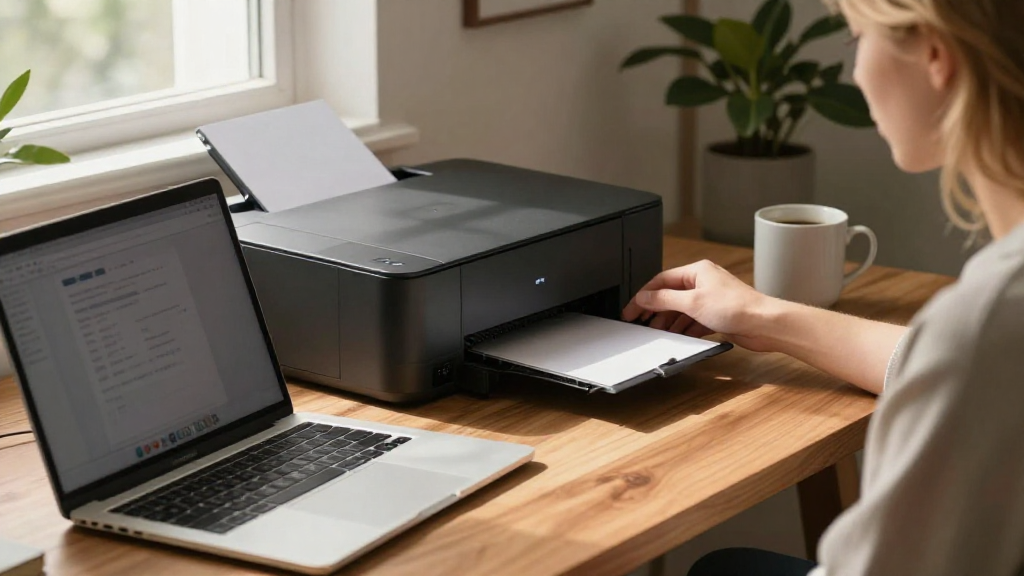
How to Connect a Printer to Mac via USB
Connecting a printer to your Mac using a USB cable is often the simplest method. Here’s how to do it:
-
Ensure Your Printer is Powered On: Begin by turning on your printer and ensuring it is in a ready state.
-
Connect the USB Cable:
– Plug one end of the USB cable into the printer and the other end into an available USB port on your Mac. -
Allow macOS to Recognize the Printer:
– Once connected, your Mac should automatically detect the printer.
– Check for a notification indicating that a new printer has been found. -
Add Printer via System Preferences:
– Go to Apple Menu > System Preferences > Printers & Scanners.
– If your printer appears in the list on the left, it’s connected successfully. If not, click the “+” button to add it manually. -
Follow On-Screen Instructions:
– Select your printer from the list and follow any prompts to complete the setup.
Congratulations! You’ve now learned how to connect a printer to Mac using a USB connection.
How Do I Connect a Wireless Printer to Mac?
If your printer supports Wi-Fi, connecting wirelessly is a great option. Here’s a step-by-step guide on how to do this:
1. Connect the Printer to Wi-Fi:
- Follow the Instructions: Most printers come with a setup wizard. Use the printer’s display to enter your Wi-Fi network name and password.
- Connection Confirmation: Make sure the Wi-Fi indicator on your printer shows that it is connected.
2. Open Printers & Scanners on Your Mac:
- Go to Apple Menu > System Preferences > Printers & Scanners.
3. Add Your Printer:
- Click the “+” button to add a new printer.
- Your Mac will begin searching for printers on the same Wi-Fi network.
4. Select Your Printer:
- Choose your printer from the detected list.
- Click “Add” to install it.
- If prompted, install any necessary drivers or follow on-screen instructions.
Once these steps are completed, you’ll successfully know how to connect a printer to Mac wirelessly!
What If My Printer Doesn’t Show Up?
Sometimes, your printer may not appear in the list during setup. Here are some troubleshooting steps to resolve this issue:
1. Check Network Connection:
- Ensure your printer and Mac are on the same Wi-Fi network.
- Restart both devices to refresh connections.
2. Enable Printer Discovery:
- Go to Printers & Scanners in System Preferences.
- Click on “Options & Supplies” for your printer and check if “Use as default printer” is selected.
3. Update macOS:
- Outdated software may cause incompatibilities.
- Go to System Preferences > Software Update to ensure that your macOS is up to date.
4. Check Firewall Settings:
- Sometimes network settings may block communication between devices.
- Go to System Preferences > Security & Privacy > Firewall and consider disabling it temporarily to check if that resolves the issue.
How to Connect a Bluetooth Printer to Mac?
If your printer supports Bluetooth, here’s how you can connect it:
1. Activate Bluetooth on Your Printer:
- Check your printer’s settings or manual to turn on Bluetooth functionality.
2. Enable Bluetooth on Mac:
- Go to System Preferences > Bluetooth and ensure Bluetooth is turned on.
3. Pair the Devices:
- Look for your printer in the list of Bluetooth devices on your Mac and click Pair.
- Follow the prompts if a PIN or confirmation is required.
4. Add the Printer:
- Go to Printers & Scanners in System Preferences.
- Click the “+” button to add the printer as before.
5. Test the Connection:
- Print a test page to ensure everything is working properly.
What to Do After Connecting Your Printer?
Once you’ve successfully connected the printer to your Mac, there are a few key steps to ensure it operates smoothly:
1. Set the Default Printer:
- If you have multiple printers, you can select your newly connected printer as the default by going to System Preferences > Printers & Scanners and selecting it.
2. Check Print Settings:
- Before printing, you can customize print settings like quality, paper size, and more by accessing Print settings from any application.
3. Keep Drivers Updated:
- Regularly check for driver updates from the manufacturer’s website to improve performance and fix bugs.
4. Test with a Print Job:
- Always print a test page after installation to confirm that everything is functioning correctly.
Troubleshooting Common Issues
Even after successfully connecting your printer, you may encounter issues. Here are common problems and how to address them:
- Printer Offline: Make sure your printer is powered on and connected to the same network as your Mac.
- Slow Printing: Check if your printer is processing a large print job. Cancel any pending jobs if necessary.
- Poor Quality Prints: Check ink or toner levels and clean print heads if needed.
In summary, connecting a printer to Mac can be straightforward if you follow these clear steps.
From USB to wireless and Bluetooth options, you can choose the method that best suits your needs.
Now you’re equipped with the knowledge on how to connect a printer to Mac, allowing you to enjoy seamless printing capabilities. If you have any further questions, feel free to consult your printer’s manual or the manufacturer’s website for additional support. Happy printing!